
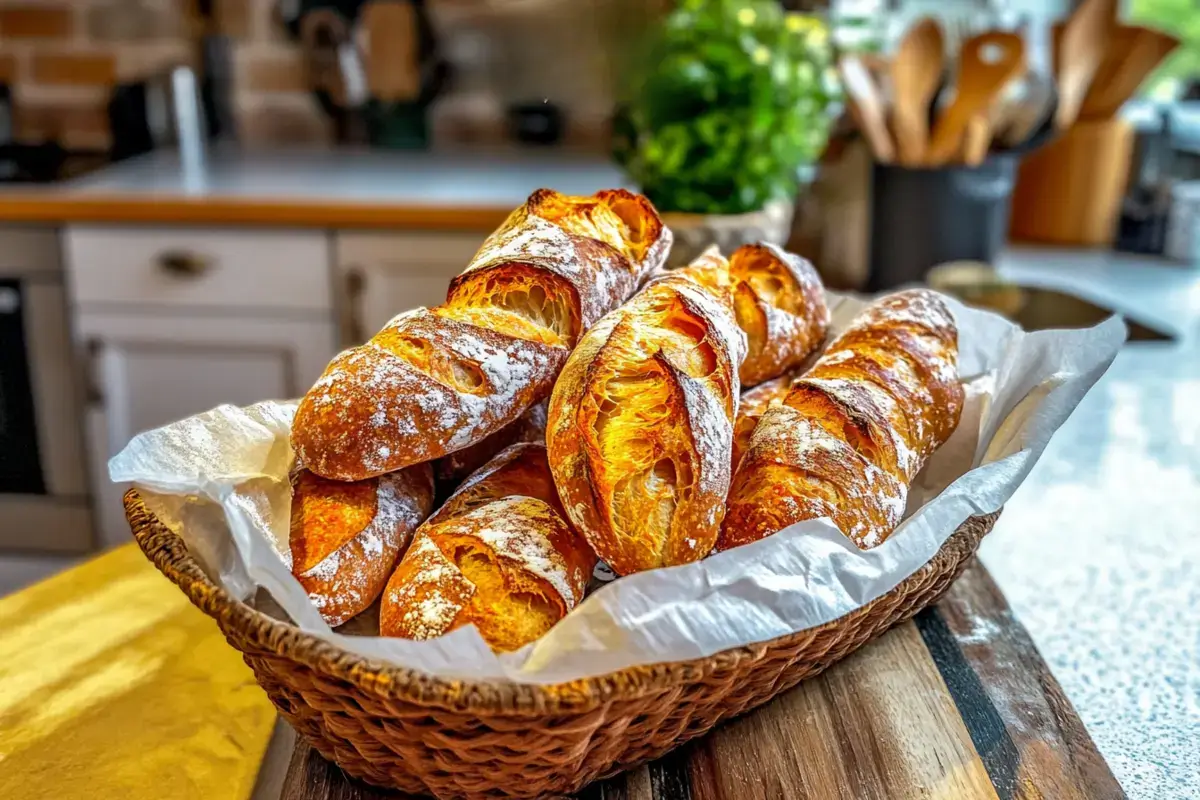
discover how to make perfect ciabatta bread rolls for sandwiches, soups, or simply snacking.
Introduction
Ciabatta bread rolls have captivated taste buds for decades. They originated in Italy, yet they are now beloved worldwide, especially in the United States. Their signature airy crumb, tantalizing aroma, and rustic crust make them a versatile choice for both casual meals and fancy gatherings. Essentially, these rolls offer the perfect base for a variety of fillings—whether you favor classic deli meats, roasted veggies, or even sweet spreads.
However, there is more to these rolls than meets the eye. Because they rely on high-hydration dough, bakers must approach them with patience and care. Furthermore, factors like proper fermentation, shaping, and oven temperature all matter. This comprehensive guide will walk you through each stage, from the creation of a poolish starter to baking techniques that yield a crisp crust and soft interior. Additionally, you will discover tips for storage, creative serving suggestions, and answers to common questions. By the end, you will be ready to master your own batch of airy ciabatta bread rolls at home.
History of Ciabatta
Ciabatta, which translates to “slipper” in Italian, began its journey as a rustic loaf with a distinctive flat and elongated shape. Initially, it emerged from the Veneto region in the early 1980s as a direct response to popular French baguettes infiltrating Italian markets. An innovative baker named Arnaldo Cavallari combined high-protein flour with a unique hydration process to achieve ciabatta’s trademark open crumb and crisp crust.
Eventually, this iconic bread evolved to include smaller portions known as ciabatta bread rolls. Because they captured the same chewy texture and airy interior as full loaves, they soon became a global sensation. Whereas some breads focus on a tight crumb and dense structure, ciabatta thrives on a light, airy profile.
Furthermore, Italians often serve ciabatta in panini-style sandwiches, pairing it with cured meats and cheeses. Eventually, the style spread beyond Italy, thanks in part to the bread’s versatility and appealing taste. In many U.S. bakeries, ciabatta rolls quickly found a niche with customers seeking artisanal options. Comparatively, they offered a lighter, crustier alternative to conventional sandwich breads. Altogether, ciabatta bread rolls now represent a cornerstone of modern artisanal baking, appealing to those who value flavor, texture, and a beautiful presentation.
Key Characteristics of Ciabatta
Several features set ciabatta apart from other breads. Chiefly, it has a hallmark open crumb, the result of a high-hydration dough that encourages the formation of air pockets. Because the dough is so wet, it can be challenging to handle. Nonetheless, this technique is essential for achieving that springy, porous interior that many people love.
Additionally, the crust of properly baked ciabatta is thin yet crisp. It develops a gentle golden hue that cracks and flakes when bitten into. Another defining trait is the flavor. Indeed, a slight tang often appears, produced by the pre-ferment or starter. This mild acidity complements the bread’s natural sweetness, leading to a balanced taste profile.
Comparatively, ciabatta differs from other Italian breads like focaccia, which typically uses more oil and has a thicker, softer crust. In contrast, ciabatta relies on just a bit of olive oil, if any, allowing the robust wheat flavors to shine. Consequently, ciabatta bread rolls boast a chewy interior and are perfect for sandwiches. They also pair well with hearty soups or as an accompaniment to pasta. Undoubtedly, these rolls stand out for their textures and flavors, which result from careful dough handling and baking techniques.
Essential Ingredients and Tools
To create fantastic ciabatta bread rolls, gather high-quality ingredients and the right tools. Generally, the most crucial components include:
- Flour: Choose a bread flour or a strong all-purpose flour. This ensures sufficient gluten development.
- Water: Use lukewarm water to help the yeast activate. Avoid overly hot water, as it can kill the yeast.
- Yeast: Both instant and active dry yeast work, though you may need to adjust proofing times.
- Salt: Enhances flavor and strengthens gluten.
- Olive Oil (Optional): Some variations include a bit of olive oil for flavor and tenderness.
You can also add herbs (like rosemary), grated cheese, or chopped olives to customize the rolls. Still, the classic recipe sticks to the basic five ingredients.
When it comes to equipment, a large mixing bowl for the dough is paramount. Because ciabatta dough is sticky, a sturdy spatula or dough whisk helps incorporate ingredients evenly. A bench scraper is also invaluable for folding and transferring the dough. Many bakers favor a baking stone or steel for even heat distribution, but a preheated metal baking tray can also work. Finally, parchment paper aids in transferring the shaped rolls to the oven.
Basically, preparing ciabatta bread rolls involves a few specialized items, yet the end result justifies the investment. Each tool helps maintain the dough’s structure and promotes an even bake.
Preparing the Dough
The process of crafting ciabatta bread rolls often begins with a pre-ferment. This could be a poolish (equal parts flour and water plus a tiny amount of yeast) or a biga (a firmer, less-hydrated version of a starter). Essentially, these starters boost flavor and help generate that airy texture.
Starter: Poolish or Biga
A poolish requires mixing equal weights of water and flour. You add a pinch of yeast, then allow it to ferment for 8–12 hours at room temperature. If you prefer a biga, you combine flour, a little yeast, and less water. Let it rest to develop flavor and mild acidity.
Why use a starter? Starters produce more complex flavors by encouraging yeast growth and enzymatic activity over time. Consequently, your ciabatta bread rolls will taste richer and have a more open crumb.
Mixing the Dough
After the starter is ready, mix it with additional flour, water, yeast (if needed), and salt. Because ciabatta dough is wet, traditional kneading methods are less common. Instead, a stretch-and-fold technique is used. You simply grab the dough from one side, stretch it upward, and fold it over. Rotate the bowl and repeat. Perform this several times to develop gluten.
First Rise
Next, cover the dough and let it rest. Ideally, keep it at about 75°F (24°C). Initially, the dough appears slack. Eventually, it will puff up, almost doubling in size. If your kitchen is cool, you can extend the rise or place the dough in a slightly warmer spot. By the end of this stage, you should see visible bubbles on the surface, confirming that the yeast is active.
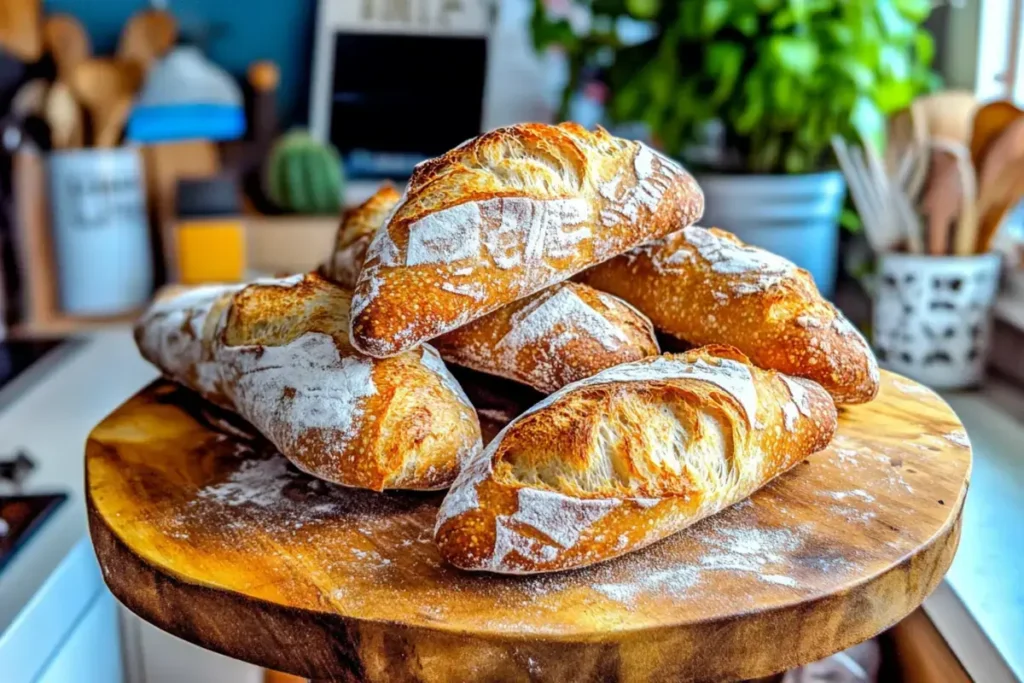
Ciabatta Bread Rolls: How to Shape Them ?
Shaping plays a vital role in preserving the lovely air pockets you developed. Furthermore, it gives each portion a uniform look. Because ciabatta dough is so soft, handle it gently to avoid knocking out the air.
- Lightly Flour Your Surface: Generously dust a work surface with flour. A dusting of semolina can also work, imparting an extra crunch.
- Turn Out the Dough: Carefully transfer it from the bowl to the surface, using a bench scraper if necessary.
- Divide Into Rolls: Cut the dough into rectangular portions. Aim for rolls that weigh around 80–100 grams each, although size can vary.
- Minimal Shaping: You typically do not roll the dough into tight spheres. Instead, gently tuck edges under to form rough rectangles. The rustic look is part of the charm of ciabatta bread rolls.
- Second Proof: Place the rolls on a baking sheet or cloth dusted with flour. Cover them loosely with a kitchen towel or plastic wrap. Let them rise again until they appear slightly puffy, usually 30–45 minutes.
Avoid Overhandling: If the dough is sticky, dust your hands lightly with flour. However, try not to incorporate too much additional flour, as this can reduce the airy structure. Eventually, you want the dough to remain pliable and soft.
Shaping requires patience. Consequently, perfecting this step can elevate your ciabatta bread rolls from decent to exceptional, ensuring a beautiful structure once baked.
Mixing the Dough for Ciabatta Bread Rolls: Key Tips
Handling the mixing process well is crucial. Initially, you may feel tempted to add extra flour, especially if the dough looks too runny. Nevertheless, hold off. High hydration is key to an airy final product.
Here are some best practices for mixing:
- Use the Autolyse Method: Combine just the flour and water first. Let them rest for 20–30 minutes. This helps gluten form naturally before adding salt and yeast.
- Gradual Addition: If you fear lumps or uneven distribution, add water in small increments while mixing.
- Stretch-and-Fold Intervals: Every 20 minutes, perform a set of stretch-and-folds. Repeat three to four times. This practice replaces traditional kneading.
- Monitor Dough Temperature: Dough temperature can affect yeast activity. Ideally, keep the dough between 70–75°F (21–24°C).
- Incorporate Salt Correctly: Salt can inhibit yeast if added too early. Hence, integrate salt after autolyse for optimal results.
When you follow these guidelines, you allow the dough’s gluten network to form properly. Consequently, your ciabatta bread rolls will develop the trademark holes and chewy bite. Indeed, patience is vital, as the high-hydration nature demands a gentler approach compared to dense breads. Eventually, you will find that the dough transforms from a sticky mess into a smoother, lively mass ready for shaping and proofing.
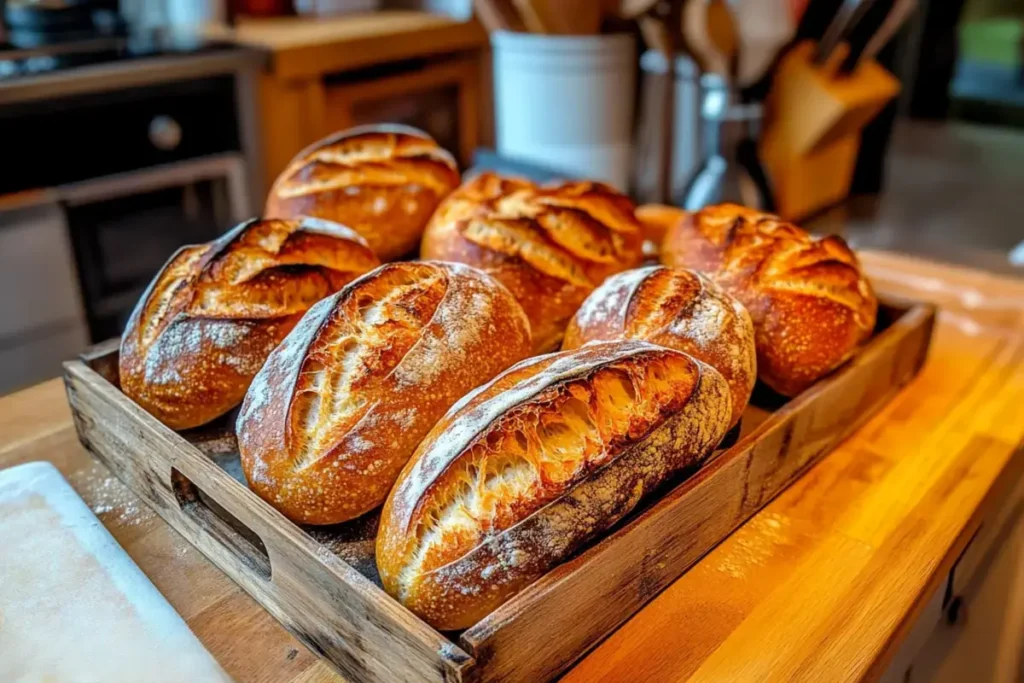
Baking Methods
Once your rolls finish their second proof, preheat the oven to 450°F (232°C). Place a baking stone or heavy tray inside to heat thoroughly. Meanwhile, line another baking sheet with parchment paper or prepare a floured peel.
- Transfer Carefully: Slide the rolls onto the hot stone or tray. You can use parchment for easy handling.
- Add Steam: For an authentic crust, introduce steam. You might place a pan of hot water in the oven or mist the interior. Steam helps the ciabatta bread rolls expand before the crust sets.
- Bake Time: Typically, smaller rolls require around 15–18 minutes. Larger rolls might need closer to 20 minutes. Monitor the color. They should look golden-brown.
- Check Doneness: Tap the bottom of a roll. A hollow sound indicates they are baked.
- Cool Properly: Move them to a wire rack. Let them cool for at least 20 minutes before slicing or serving.
Comparatively, some bakers opt for higher temperatures for a crisp exterior. However, ensure you do not burn the crust. Overall, the goal is to achieve that thin, crackly shell and moist, open crumb. Consequently, your efforts in shaping and proofing will truly shine once the ciabatta bread rolls emerge from the oven.
Delicious Variations for Ciabatta Bread Rolls
One of the joys of making ciabatta bread rolls at home is customizing them. While the classic version sticks to flour, water, yeast, and salt, you can expand your repertoire.
Here are a few flavorful variations:
- Herb-Infused: Add chopped rosemary, thyme, or basil during the final mixing stage. This provides an aromatic twist.
- Whole Wheat Blend: Replace 20–30% of the white flour with whole wheat. This imparts a nutty flavor.
- Olive or Sundried Tomato: Fold in chopped olives or sundried tomatoes for a Mediterranean flair.
- Cheese-Enhanced: Integrate grated parmesan or asiago into the dough. Alternatively, sprinkle shredded cheese on top before baking.
Moreover, you can experiment with seeds like flax, sunflower, or sesame for extra texture. Just remember that any additions should be folded in gently to preserve the dough’s airy nature. In particular, lumps of cheese or hearty vegetables can weigh down the structure. Therefore, chop them into small pieces.
Furthermore, if you prefer a touch of sweetness, honey or malt syrup can be included. This might slightly darken the crust and introduce a hint of caramel flavor. Ultimately, these variations let you tailor each batch to suit your taste or match specific meals. Because ciabatta bread rolls are inherently adaptable, you can easily switch between classic versions and creative twists.

Serving Ciabatta Bread Rolls: Creative Ideas
Ciabatta bread rolls make an excellent base for a wide variety of meals. Particularly, they shine in sandwiches. Their sturdy yet tender interior holds fillings without getting soggy too quickly. Layer them with Italian cured meats, fresh mozzarella, and roasted peppers for a classic panini. Or fill them with grilled chicken, pesto, and ripe tomatoes for a Mediterranean-inspired lunch.
If you enjoy breakfast sandwiches, consider placing scrambled eggs, bacon, and avocado slices between two halves. Additionally, you could toast these rolls, then spread on butter and fruit preserves. The crunchy crust offers a satisfying contrast to the soft interior.
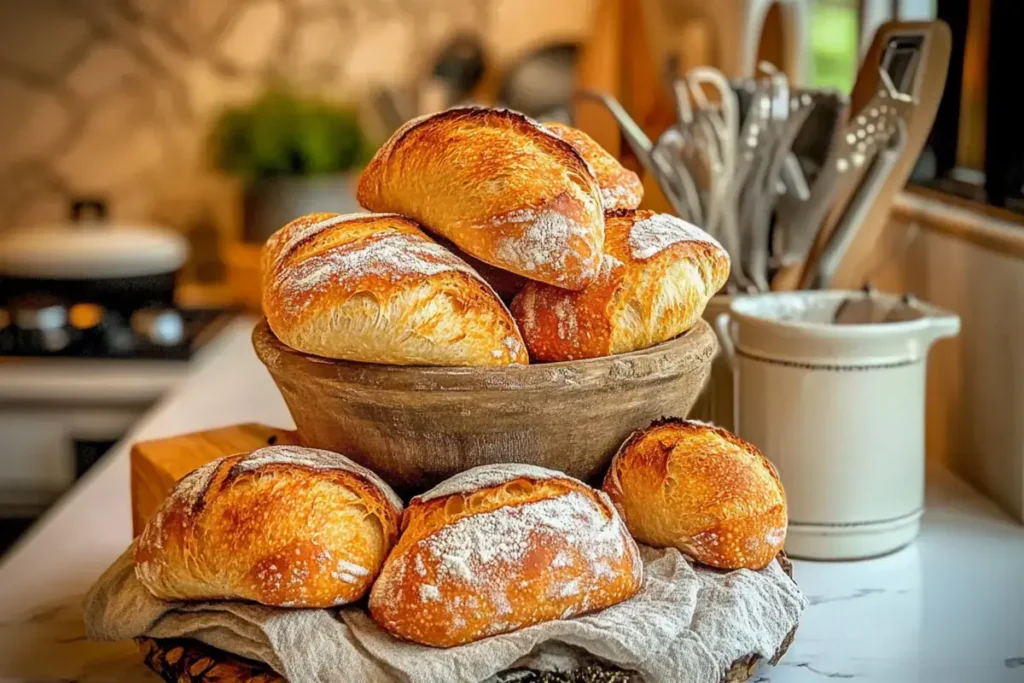
Beyond sandwiches, ciabatta bread rolls work wonderfully as soup companions. Tear them into chunks for dipping in creamy tomato soup or dunk them into hearty minestrone. Meanwhile, if you host a dinner party, set a basket of warm ciabatta rolls at the table. Guests can pair them with olive oil and balsamic vinegar, or use them to soak up savory pasta sauces.
Because of their versatile flavor, these rolls are also welcome at picnics. They hold up well and do not require extra fuss. Basically, you can get creative when serving ciabatta. Indeed, their subtle tang and crisp exterior pair well with both sweet and savory. Thus, once you learn to bake these rolls, you will find countless ways to enjoy them.
Storage and Reheating
Proper storage ensures your ciabatta bread rolls remain fresh and tasty. Generally, store completely cooled rolls in a paper or cloth bag at room temperature. This preserves the crust’s crispness better than plastic. However, if you live in a dry climate, you might wrap them lightly in plastic to prevent excessive dryness.
If you plan to keep the rolls for more than a couple of days, freezing is a great option. Wrap each roll in aluminum foil or place multiple rolls in a freezer-safe bag. Remove as much air as possible, then freeze. They remain fresh for up to three months.
To reheat, thaw frozen rolls at room temperature. Next, warm them in a preheated 350°F (177°C) oven for about 5–8 minutes. This revives their crust and soft middle. Alternatively, you can slice them and toast them if you prefer a crunchier texture.
Be mindful of staleness. Ciabatta is best consumed within a few days if stored at room temperature. Consequently, it is wise to bake only as many rolls as you need for immediate use. Nonetheless, with proper wrapping and quick reheating, ciabatta bread rolls can taste nearly as good the next day or even weeks later.
Troubleshooting Ciabatta Bread Rolls for Best Results
Even seasoned bakers encounter issues with ciabatta bread rolls. Consequently, understanding common pitfalls can save time and frustration.
- Dense Crumb: If your rolls lack the characteristic holes, your dough might be under-hydrated or under-proofed. Comparatively, insufficient fermentation can also result in a tight structure.
- Flat Rolls: Too much water or over-proofing can cause them to spread out. Additionally, rough handling during shaping can degas the dough excessively.
- Pale Crust: A low oven temperature or short bake time might cause this. Ensure your oven is preheated properly and consider using steam to get a more golden crust.
- Tough Texture: Overworking the dough or using too much flour can lead to toughness. Remember, ciabatta dough should be sticky and loose.
- Bland Flavor: If the taste seems dull, try a longer pre-ferment or add a pinch more salt. Flavors develop with time and fermentation.
Often, small tweaks in technique or timing can correct these issues. Ultimately, keep detailed notes of each baking session—hydration levels, proofing temperatures, and times. By comparing successful batches to less successful ones, you will develop a knack for producing consistent, high-quality ciabatta bread rolls.
Nutritional Profile and Health Considerations
Ciabatta bread rolls generally contain basic ingredients: flour, water, yeast, and salt. Therefore, they offer a moderate calorie count, mostly from carbohydrates. Typically, a single roll may range from 150 to 200 calories, depending on its size.
Comparatively, ciabatta can be healthier than heavily processed white bread, since it often uses fewer preservatives. However, it is not necessarily a “health food.” The nutritional value largely depends on the type of flour used. For extra fiber and nutrients, you could incorporate whole wheat flour. Additionally, you can moderate your serving size to fit a balanced diet.
Furthermore, ciabatta’s airy texture might lead you to eat more than planned. Nevertheless, pairing these rolls with nutrient-dense toppings—like lean proteins, fresh vegetables, and healthy spreads—can transform them into a well-rounded meal. While some people avoid bread due to carb content, others appreciate a quality loaf as a source of energy. Ultimately, mindful consumption is key.
If you have specific dietary concerns, such as gluten intolerance, you can explore gluten-free blends. However, achieving the signature texture can be challenging. Because gluten contributes to ciabatta’s unique crumb, a direct gluten-free version may differ. Nonetheless, ciabatta bread rolls can be part of a balanced lifestyle when enjoyed in moderation and combined with nutrient-rich foods.
Conclusion
Baking your own ciabatta bread rolls at home can be a rewarding venture. Indeed, once you master the high-hydration dough and gentler mixing methods, you will uncover layers of flavor and texture that surpass many store-bought breads. Furthermore, the pre-ferment stage infuses each roll with subtle tang and complexity, while the shaping and proofing steps help preserve those iconic air pockets.
Ultimately, these rolls are ideal for sandwiches, soups, and endless culinary possibilities. Consequently, they can become your go-to staple for both everyday meals and special occasions. From adding herbs to experimenting with whole wheat, the variations are vast. Undoubtedly, learning to bake ciabatta fosters a deeper appreciation for the art of bread-making.
Give yourself time to practice. Eventually, your confidence will grow. Then you can share these delicious, crusty rolls with family, friends, or anyone who appreciates authentic Italian-inspired bread. Enjoy your freshly baked ciabatta bread rolls, and savor every airy bite.
Frequently Asked Questions
What makes ciabatta bread different?
Ciabatta’s key difference lies in its high-hydration dough and open crumb. It also has a thin, crisp crust. These characteristics come from the use of a pre-ferment, which enhances both flavor and texture. Consequently, ciabatta bread rolls exhibit an airy interior and a uniquely chewy bite.
Is ciabatta gluten free?
Traditional ciabatta is not gluten free because it relies heavily on wheat flour to achieve its signature texture. Nonetheless, some bakers have experimented with gluten-free flour blends. Yet the results differ in crumb structure, and the rolls may not match the airy quality of classic ciabatta.
What are ciabatta rolls good for?
Ciabatta bread rolls excel as sandwich bases, thanks to their sturdy yet porous interior. They also pair well with soups, stews, and sauces. Basically, they absorb flavors without falling apart and offer a delightful chewy contrast.
Is ciabatta healthier than bread?
Whether ciabatta is healthier depends on the comparison. It typically has fewer ingredients and fewer preservatives than some commercial breads. However, it still contains carbohydrates. When made with whole wheat flour, ciabatta can offer slightly more nutrients. Moderation and balanced toppings are key for a healthy diet.