

Hey there, breakfast lovers! I’m Jessika from BoldyRecipes, and after years of perfecting plant-based breakfast options in my kitchen here in Portland, I’ve finally nailed the ultimate vegan pancake recipe. These fluffy stacks prove you don’t need eggs or dairy to create that perfect Sunday morning comfort food we all crave.
Why This Vegan Pancake Recipe Works
Through countless testing sessions, I’ve discovered the secret lies in the right combination of plant milk acidity and leavening agents. The apple cider vinegar reacts with baking soda to create incredible lift, while the oil ensures a tender crumb that rivals any traditional pancake.
Essential Ingredients
Dry Ingredients:
- 1½ cups all-purpose flour
- 2 tablespoons granulated sugar
- 2 teaspoons baking powder
- ½ teaspoon baking soda
- ½ teaspoon salt
Wet Ingredients:
- 1¼ cups unsweetened almond milk (or any plant milk)
- 1 tablespoon apple cider vinegar
- 2 tablespoons melted coconut oil
- 1 teaspoon vanilla extract
Step-by-Step Instructions
1. Create Your Vegan Buttermilk
Combine almond milk with apple cider vinegar in a measuring cup. Let it sit for 5 minutes until it curdles slightly. This acidic mixture is crucial for activating the leavening agents.
2. Mix Dry Ingredients
In a large bowl, whisk together flour, sugar, baking powder, baking soda, and salt. Creating a well in the center helps prevent overmixing later.
3. Combine Wet and Dry
Pour the milk mixture, melted coconut oil, and vanilla into the dry ingredients. Stir gently until just combined. Small lumps are perfectly fine overmixing leads to tough, flat pancakes.
4. Rest the Batter
Let the batter rest for 5 minutes. This allows the flour to hydrate and the leavening agents to activate, resulting in fluffier pancakes.
5. Cook to Perfection
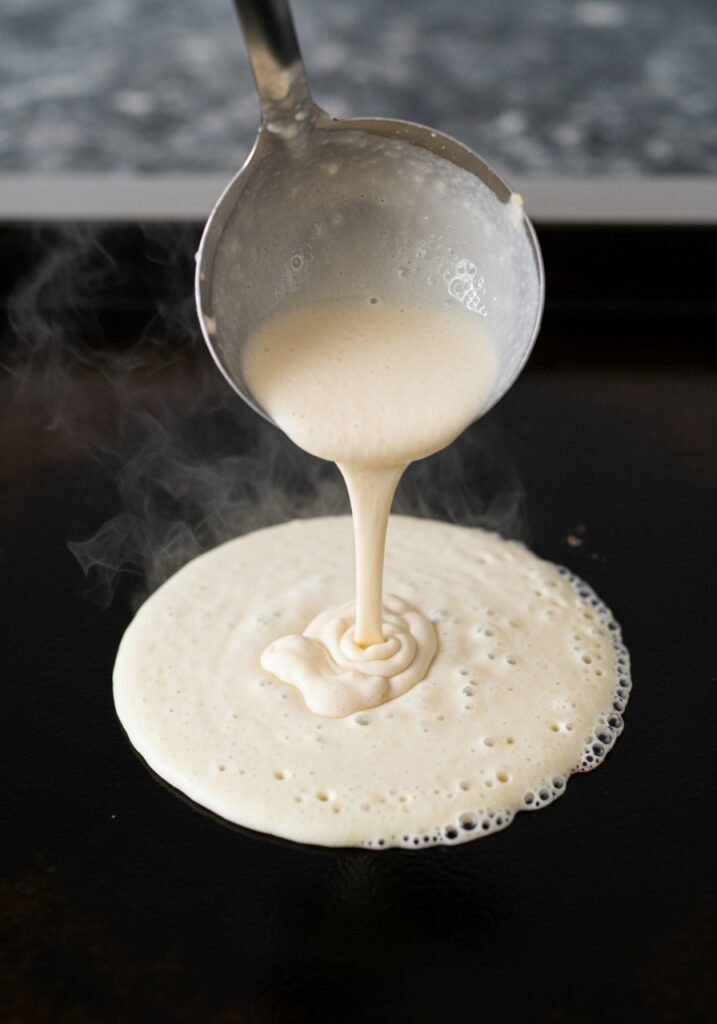
Heat a non-stick pan or griddle over medium heat. Pour ¼ cup of batter for each pancake. Cook until bubbles form on the surface and edges look set (about 2-3 minutes), then flip and cook for another 1-2 minutes until golden brown.
Pro Tips from My Kitchen
Temperature Control: Medium heat is essential. Too hot, and you’ll burn the outside while leaving the inside raw. I keep my griddle at exactly 375°F for consistent results.
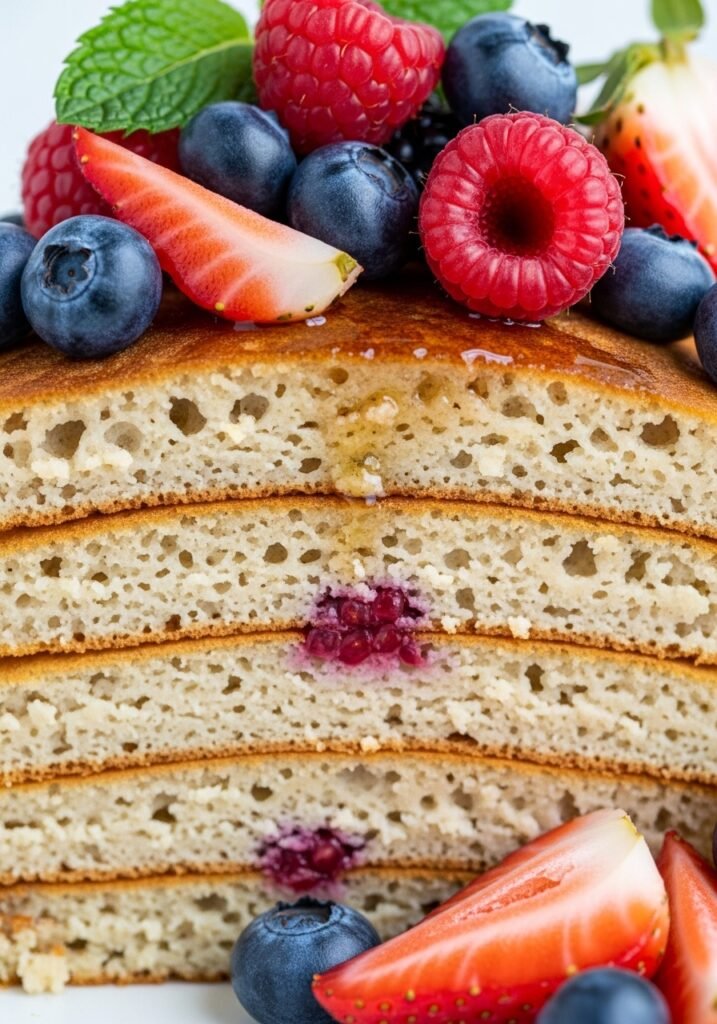
Don’t Press Down: Resist the urge to press pancakes with your spatula. This removes air pockets and creates dense, flat results.
Fresh Leavening: Check your baking powder’s expiration date. Old leavening agents are the number one cause of flat vegan pancakes.
Make-Ahead Option: Mix dry ingredients the night before and store in an airtight container. Morning prep becomes incredibly quick.
Customization Ideas
Transform these basic vegan pancakes with simple additions:
- Fold in ½ cup fresh blueberries for antioxidant-rich breakfast
- Add 2 tablespoons cocoa powder for chocolate pancakes
- Mix in 1 teaspoon cinnamon and ¼ teaspoon nutmeg for spiced version
- Incorporate ¼ cup mini vegan chocolate chips for weekend treats
Storage and Reheating
Store leftover pancakes in an airtight container for up to 3 days in the refrigerator. For longer storage, freeze them separated by parchment paper for up to 2 months. Reheat in a toaster for crispy edges or microwave for 20-30 seconds for soft, warm pancakes.
Serving Suggestions
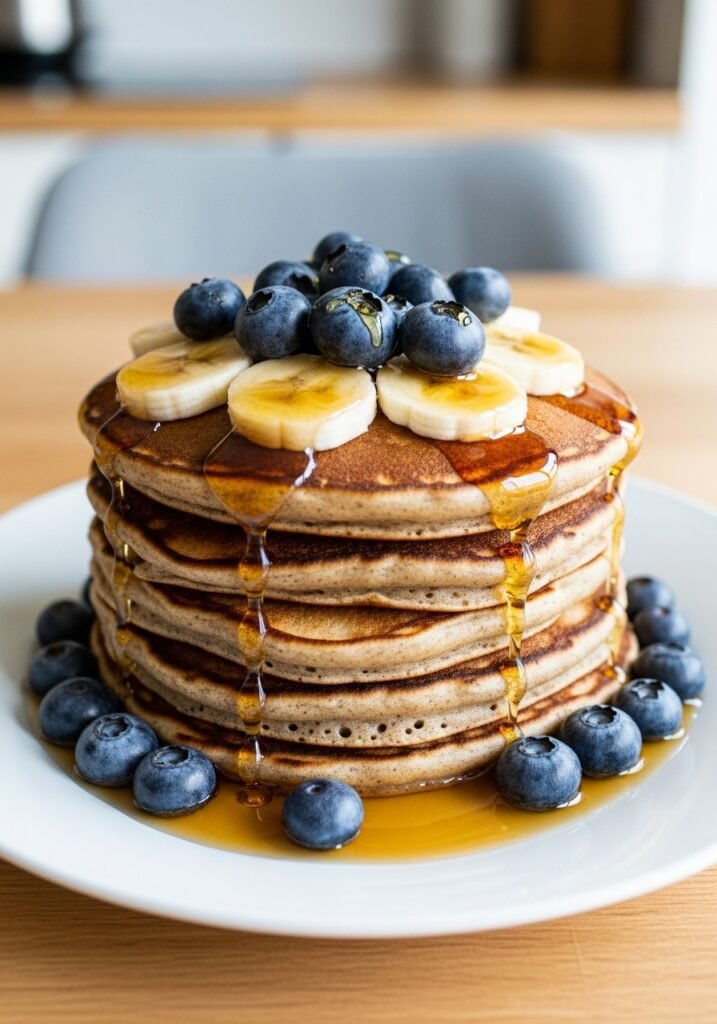
Top your vegan pancakes with pure maple syrup, fresh berries, sliced bananas, chopped nuts, coconut whipped cream, or a dollop of almond butter. For special occasions, I create a berry compote by simmering frozen mixed berries with a splash of orange juice and maple syrup.
FAQs
Q: Can I use whole wheat flour?
A: Yes, substitute up to 50% with whole wheat flour. Using 100% will create denser pancakes.
Q: Why are my pancakes gummy inside?
A: Either the heat’s too high or you’re flipping too soon. Wait for bubbles to pop before flipping.
Q: Can I make these gluten-free?
A: Absolutely! Use a 1:1 gluten-free flour blend designed for baking.
Q: How do I prevent sticking?
A: Use a well-seasoned pan with light oil coating, or invest in quality non-stick cookware.