

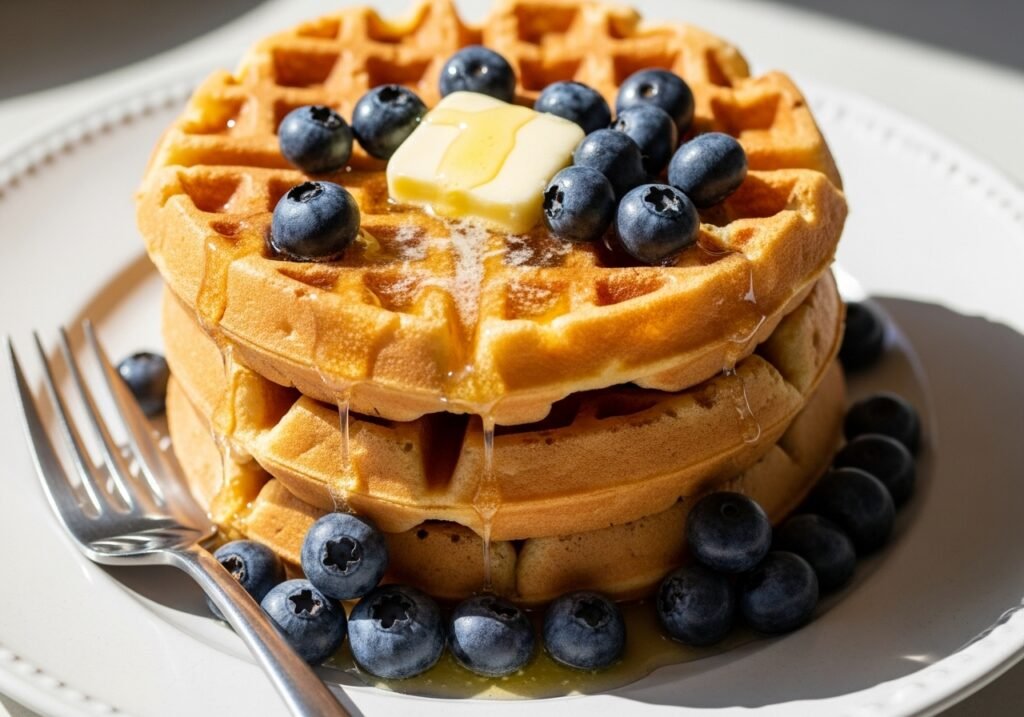
Hey there, waffle lovers! I’m Jessika, and after countless Sunday brunches and recipe tests in my Seattle kitchen, I’ve perfected the ultimate Belgian waffle recipe. These aren’t your average breakfast waffles they’re the real deal: crispy on the outside, pillowy-soft inside, with those signature deep pockets that hold all your favorite toppings. I’ve served these to everyone from my picky nephews to professional food critics, and they disappear every single time.
What Makes Belgian Waffles Different?
True Belgian waffles use yeast instead of just baking powder, creating an incredibly light texture and subtle sweetness. They’re thicker than American waffles and require a deeper waffle iron. The key is patience letting that batter rest creates the airiest waffles you’ll ever taste.
Ingredients You’ll Need
Dry Ingredients:
- 2 cups all-purpose flour
- 2 tablespoons granulated sugar
- 1 packet (2¼ teaspoons) active dry yeast
- ½ teaspoon salt
Wet Ingredients:
- 1¾ cups whole milk, warmed to 110°F
- ½ cup unsalted butter, melted and slightly cooled
- 2 large eggs, room temperature
- 1 teaspoon pure vanilla extract
Step-by-Step Instructions
1. Activate the Yeast
Combine warm milk and yeast in a large bowl. Let sit for 5 minutes until foamy. This tells you the yeast is alive and ready.
2. Mix the Batter
Whisk in melted butter, eggs, and vanilla. In a separate bowl, combine flour, sugar, and salt. Gradually fold dry ingredients into wet until just combined small lumps are fine.
3. The Crucial Rest
Cover the bowl with plastic wrap and let it rest in a warm spot for 60-90 minutes. The batter should nearly double in size. This is what creates those incredible air pockets.
4. Preheat Your Iron
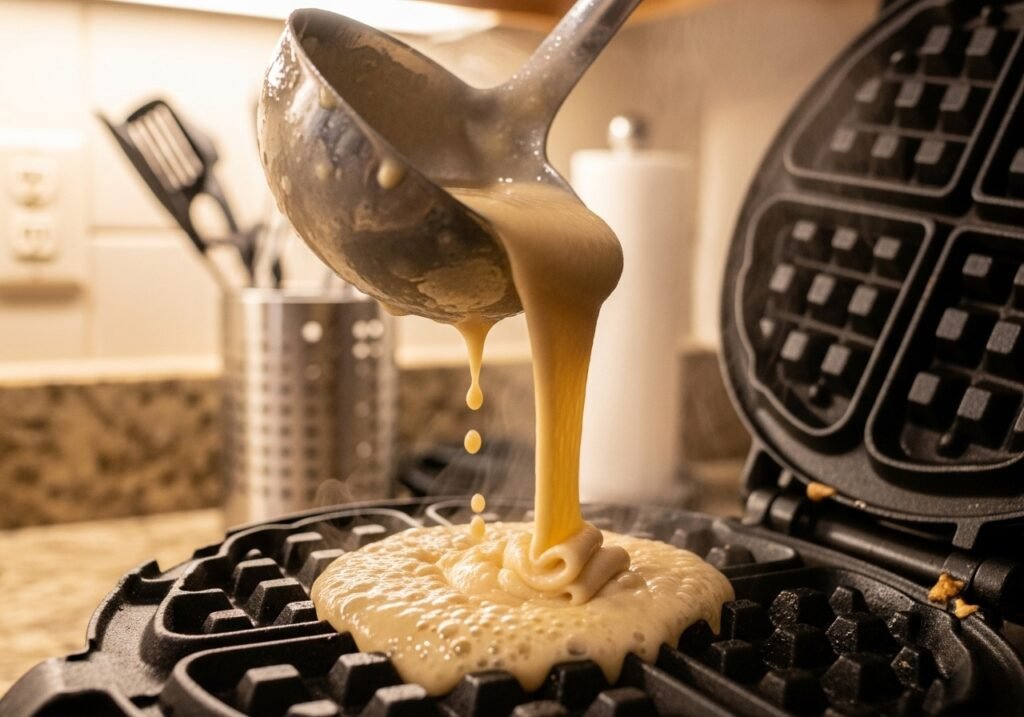
Heat your Belgian waffle maker to medium-high. Don’t skip preheating it’s essential for that crispy exterior.
5. Cook to Perfection
Lightly grease the iron, pour in batter (amount depends on your iron size), and close. Cook for 3-5 minutes until golden brown and steam stops releasing. Resist opening too early!
6. Serve Immediately
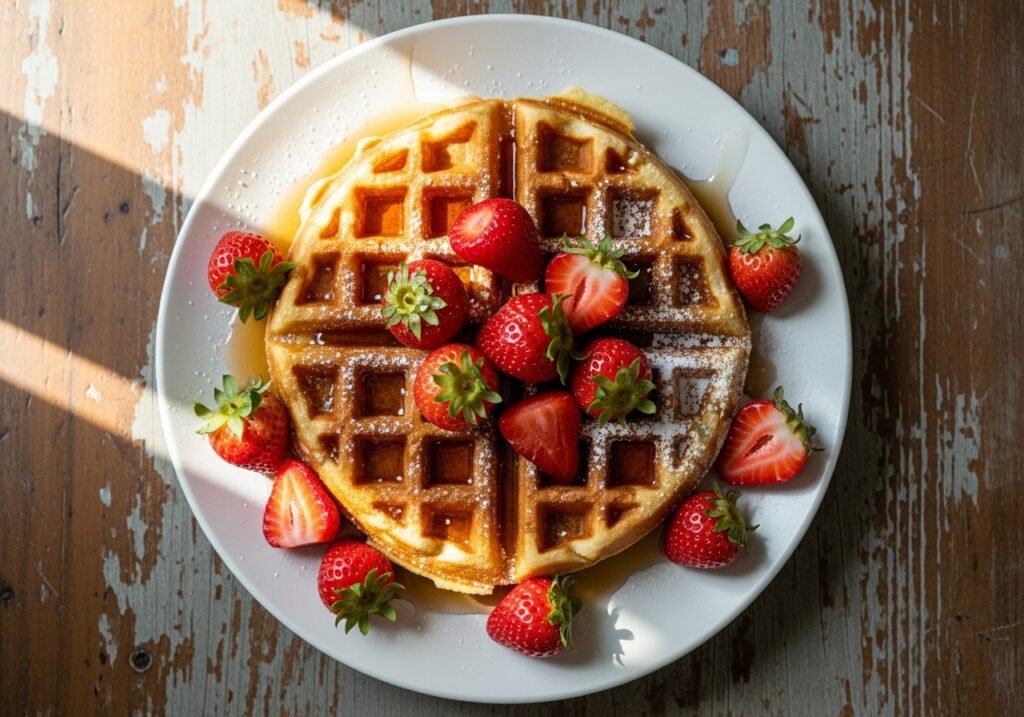
Serve hot with your choice of toppings: fresh berries, whipped cream, maple syrup, or even fried chicken for a savory twist.
Pro Tips From My Kitchen
- Temperature matters: Too-hot milk kills yeast; too-cold milk won’t activate it. Use a thermometer.
- Don’t overmix: Overworking the batter creates tough waffles. Stir until just incorporated.
- Keep them crispy: Place finished waffles on a wire rack in a 200°F oven instead of stacking them.
- Make ahead: Refrigerate batter overnight for even better flavor. Bring to room temperature before cooking.
- Freezer-friendly: Freeze cooled waffles between parchment paper. Reheat in a toaster for quick weekday breakfasts.
Why This Recipe Works?
After testing variations for over a decade, I’ve nailed the perfect flour-to-liquid ratio and resting time. The yeast creates complex flavor, while the butter adds richness without making them heavy. This recipe consistently produces restaurant-quality waffles in home kitchens across the country.

FAQs
Q: Can I use instant yeast instead?
A: Yes! Use the same amount and skip the activation step. Mix it directly with dry ingredients.
Q: Why are my waffles soggy?
A: Your iron isn’t hot enough, or you’re stacking waffles. Always use a wire rack and ensure proper preheating.
Q: Can I make this dairy-free?
A: Absolutely. Substitute almond or oat milk and use vegan butter. Results are nearly identical.
Q: How long does batter keep?
A: Refrigerate up to 24 hours. The flavor actually improves! Let it sit at room temperature 20 minutes before using.