

Hey there, fellow food lovers! It’s Jessika from Boldy Recipes, and today I’m sharing my go-to tuna casserole that’s been a lifesaver on countless busy weeknights here in my Seattle kitchen. After years of perfecting this recipe through trial and error (and plenty of family taste tests!), I’ve created the perfect balance of creamy, crunchy, and comforting that’ll have everyone asking for seconds.
Why This Tuna Casserole Recipe Works
This isn’t your grandmother’s mushy casserole. My version combines traditional comfort with modern cooking techniques I’ve learned throughout my 15 years as a professional chef. The secret lies in using quality ingredients and proper layering techniques that prevent the dreaded soggy bottom while ensuring every bite is perfectly seasoned.
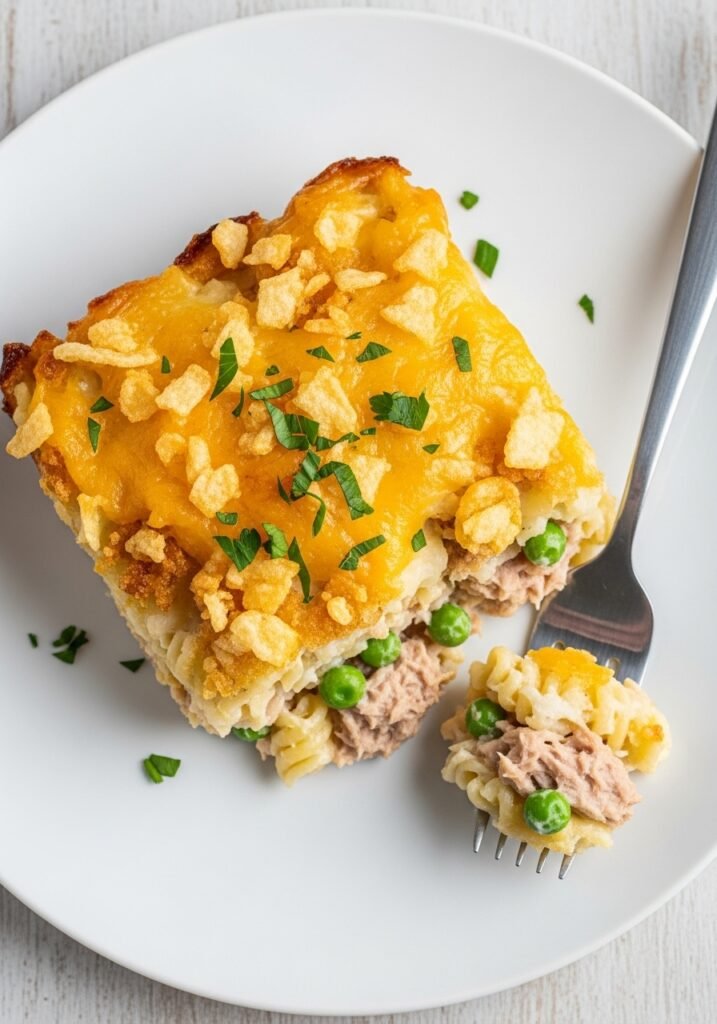
Essential Ingredients
For the casserole:
- 12 oz wide egg noodles
- 2 cans (12 oz each) solid albacore tuna in water, drained
- 1 can (10.5 oz) cream of mushroom soup
- 1 cup sour cream
- 1½ cups frozen peas
- 2 cups sharp cheddar cheese, shredded
- ½ cup milk
- 1 medium onion, finely diced
- 2 cloves garlic, minced
- Salt and black pepper to taste
For the topping:
- 2 cups crushed potato chips or French fried onions
- ½ cup Parmesan cheese, grated
- 2 tablespoons butter, melted
Step-by-Step Instructions
1. Prep Your Kitchen (5 minutes)
Preheat your oven to 350°F (175°C). Grease a 9×13-inch baking dish with butter. Having worked in professional kitchens, I can’t stress enough how mise en place (everything in its place) speeds up cooking.
2. Cook the Noodles (8 minutes)
Boil the egg noodles according to package directions, but subtract 2 minutes from the cooking time. They’ll finish cooking in the oven, preventing mushy pasta a common mistake I see home cooks make.
3. Sauté Aromatics (3 minutes)
In a large skillet, sauté onions in butter until translucent. Add garlic and cook for 30 seconds until fragrant. This builds the flavor foundation.
4. Create the Creamy Base (5 minutes)
In a large mixing bowl, combine cream of mushroom soup, sour cream, milk, and 1½ cups of cheddar cheese. Add the sautéed onions and garlic. Season with salt and pepper. Fold in the drained tuna and frozen peas gently to maintain tuna chunks.
5. Combine and Layer (3 minutes)
Add the drained noodles to your mixture, stirring carefully. Transfer everything to your prepared baking dish, spreading evenly.
6. Add the Crown (2 minutes)
Mix crushed chips with Parmesan and melted butter. Sprinkle evenly over the casserole, then top with remaining cheddar cheese.
7. Bake to Perfection (25-30 minutes)
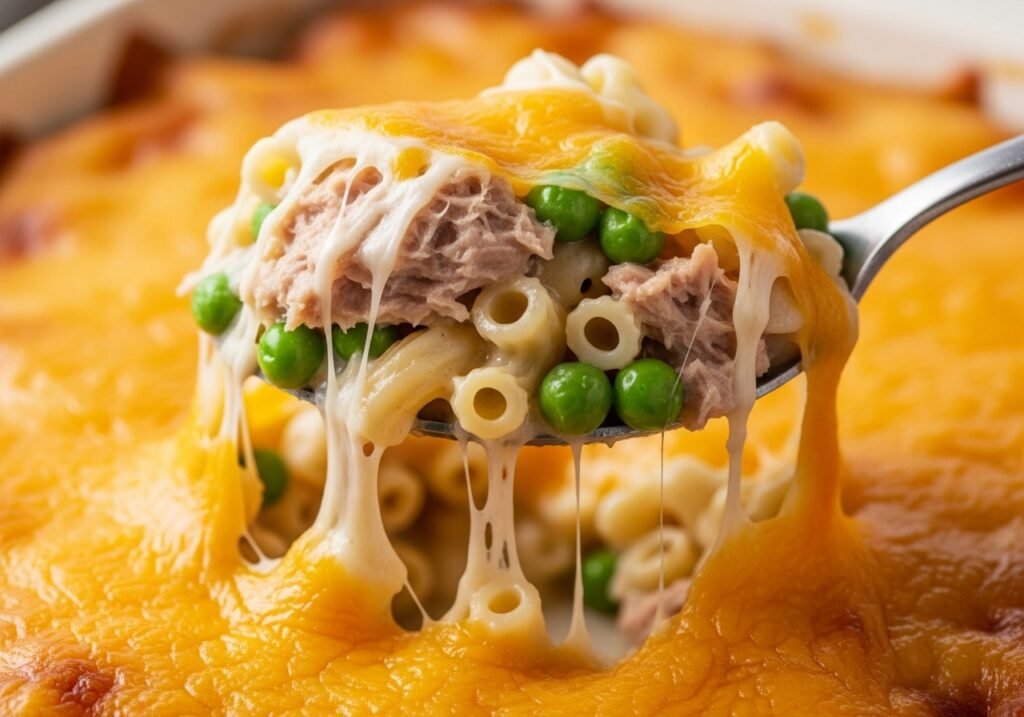
Bake until the edges bubble and the top turns golden brown. Let it rest for 5 minutes before serving.
Pro Tips for Success
Through my years of teaching cooking classes across the Pacific Northwest, I’ve identified these game-changers:
- Use solid albacore tuna rather than chunk light for better texture and flavor
- Don’t skip the resting time it allows the casserole to set properly
- Fresh mushrooms sautéed with the onions elevate this dish significantly
- Make it ahead: Assemble everything except the topping, refrigerate overnight, then add topping and bake
Nutritional Benefits
Despite being comfort food, this casserole packs nutritional value. Tuna provides lean protein and omega-3 fatty acids, while peas add fiber and vitamins. Using whole wheat noodles increases the fiber content without sacrificing taste.
Storage and Reheating
Store leftovers in an airtight container for up to 3 days in the refrigerator. Reheat individual portions in the microwave at 50% power to prevent drying out, or cover with foil and warm in a 325°F oven.
FAQs
Q: Can I make this gluten-free?
A: Absolutely! Use GF pasta and ensure your soup and chips are certified gluten-free.
Q: What can replace cream of mushroom soup?
A: Try cream of chicken or make a homemade white sauce with butter, flour, and milk.
Q: Can I freeze tuna casserole?
A: Yes, freeze without topping for up to 2 months. Thaw overnight and add fresh topping before baking.
Q: What sides pair well?
A: Simple green salad, roasted vegetables, or garlic bread complement perfectly.